HOW TO USE Sneaker Tattoos®

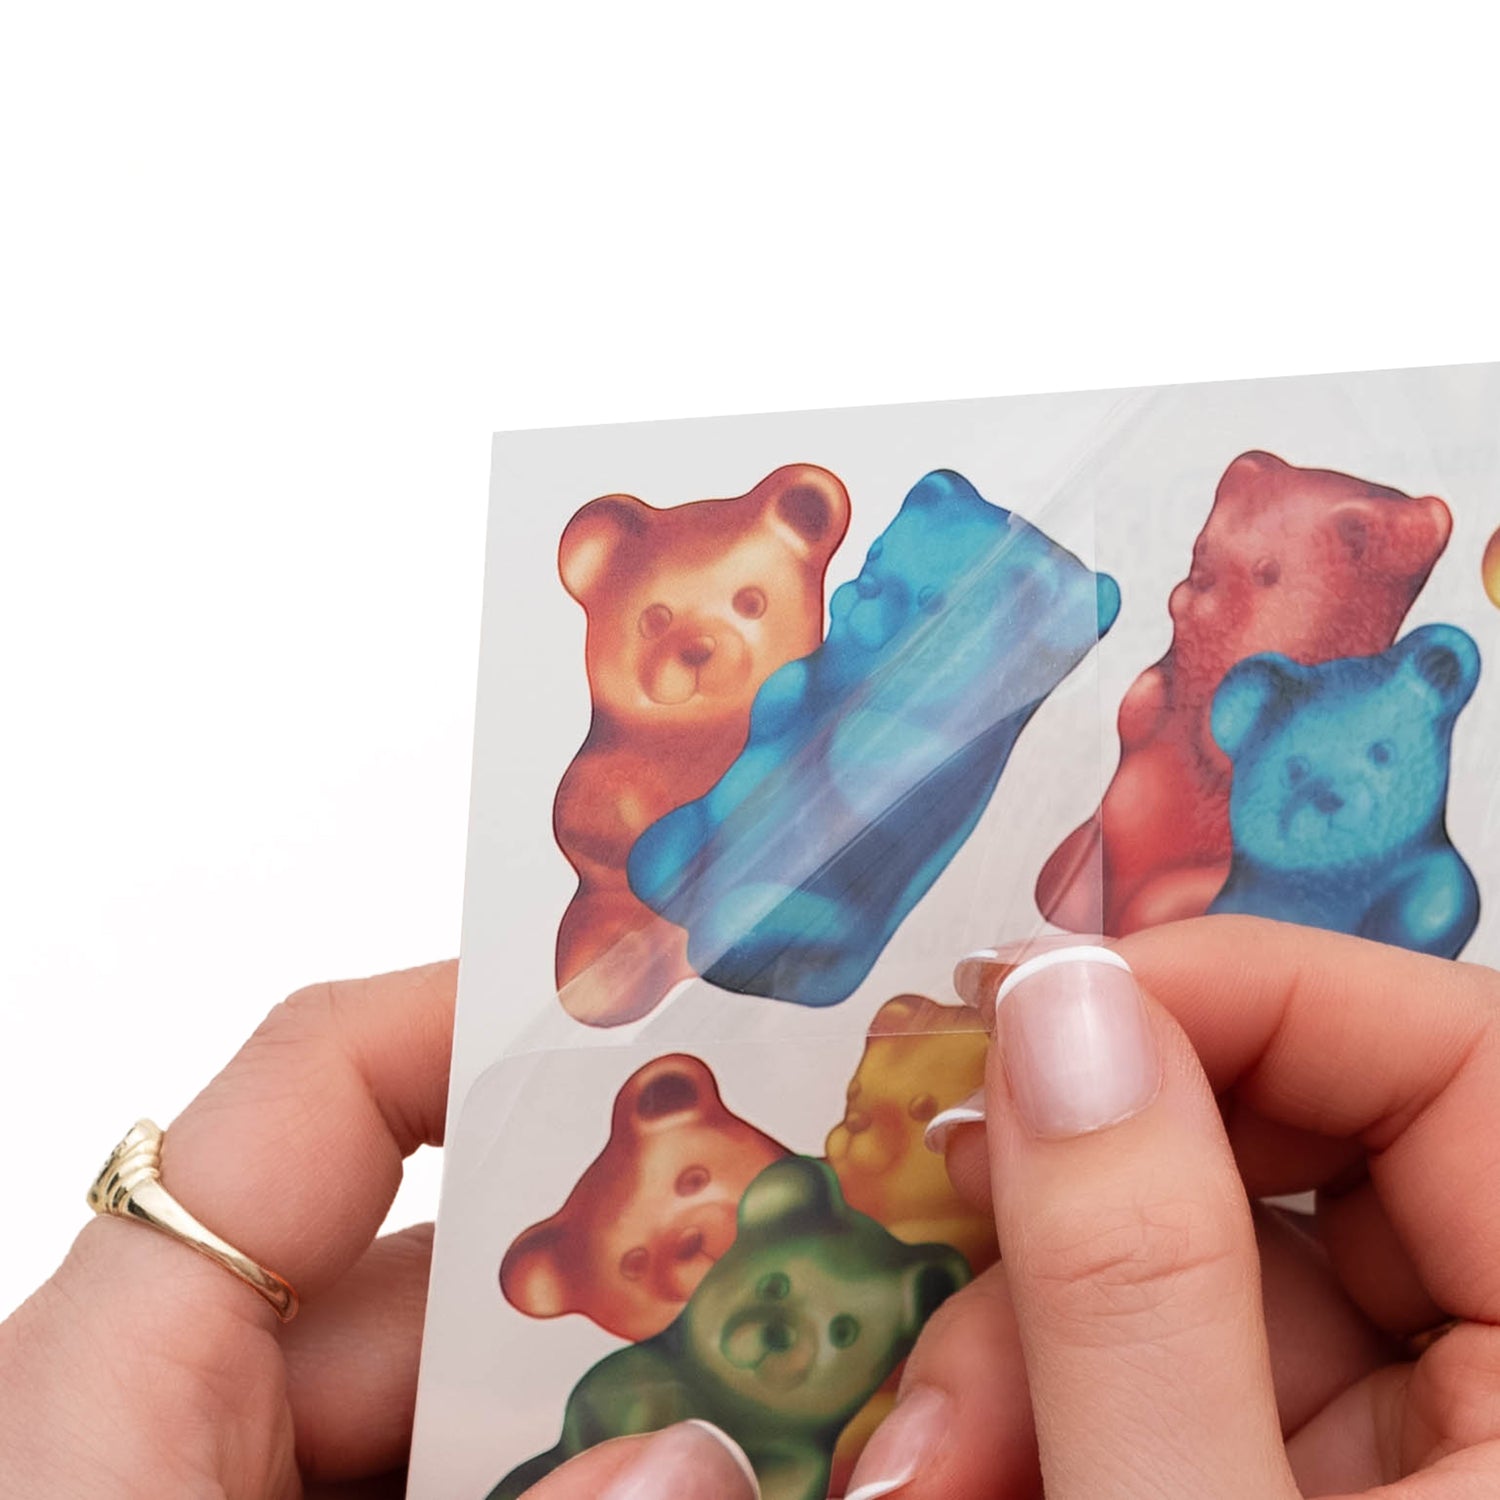
It's really quite simple. Just like waterslide temporary tattoos that you use on your body, Sneaker Tattoos® only require a few simple steps followed by a topcoat (sold separately) to create one-of-a-kind, jaw-dropping customs!
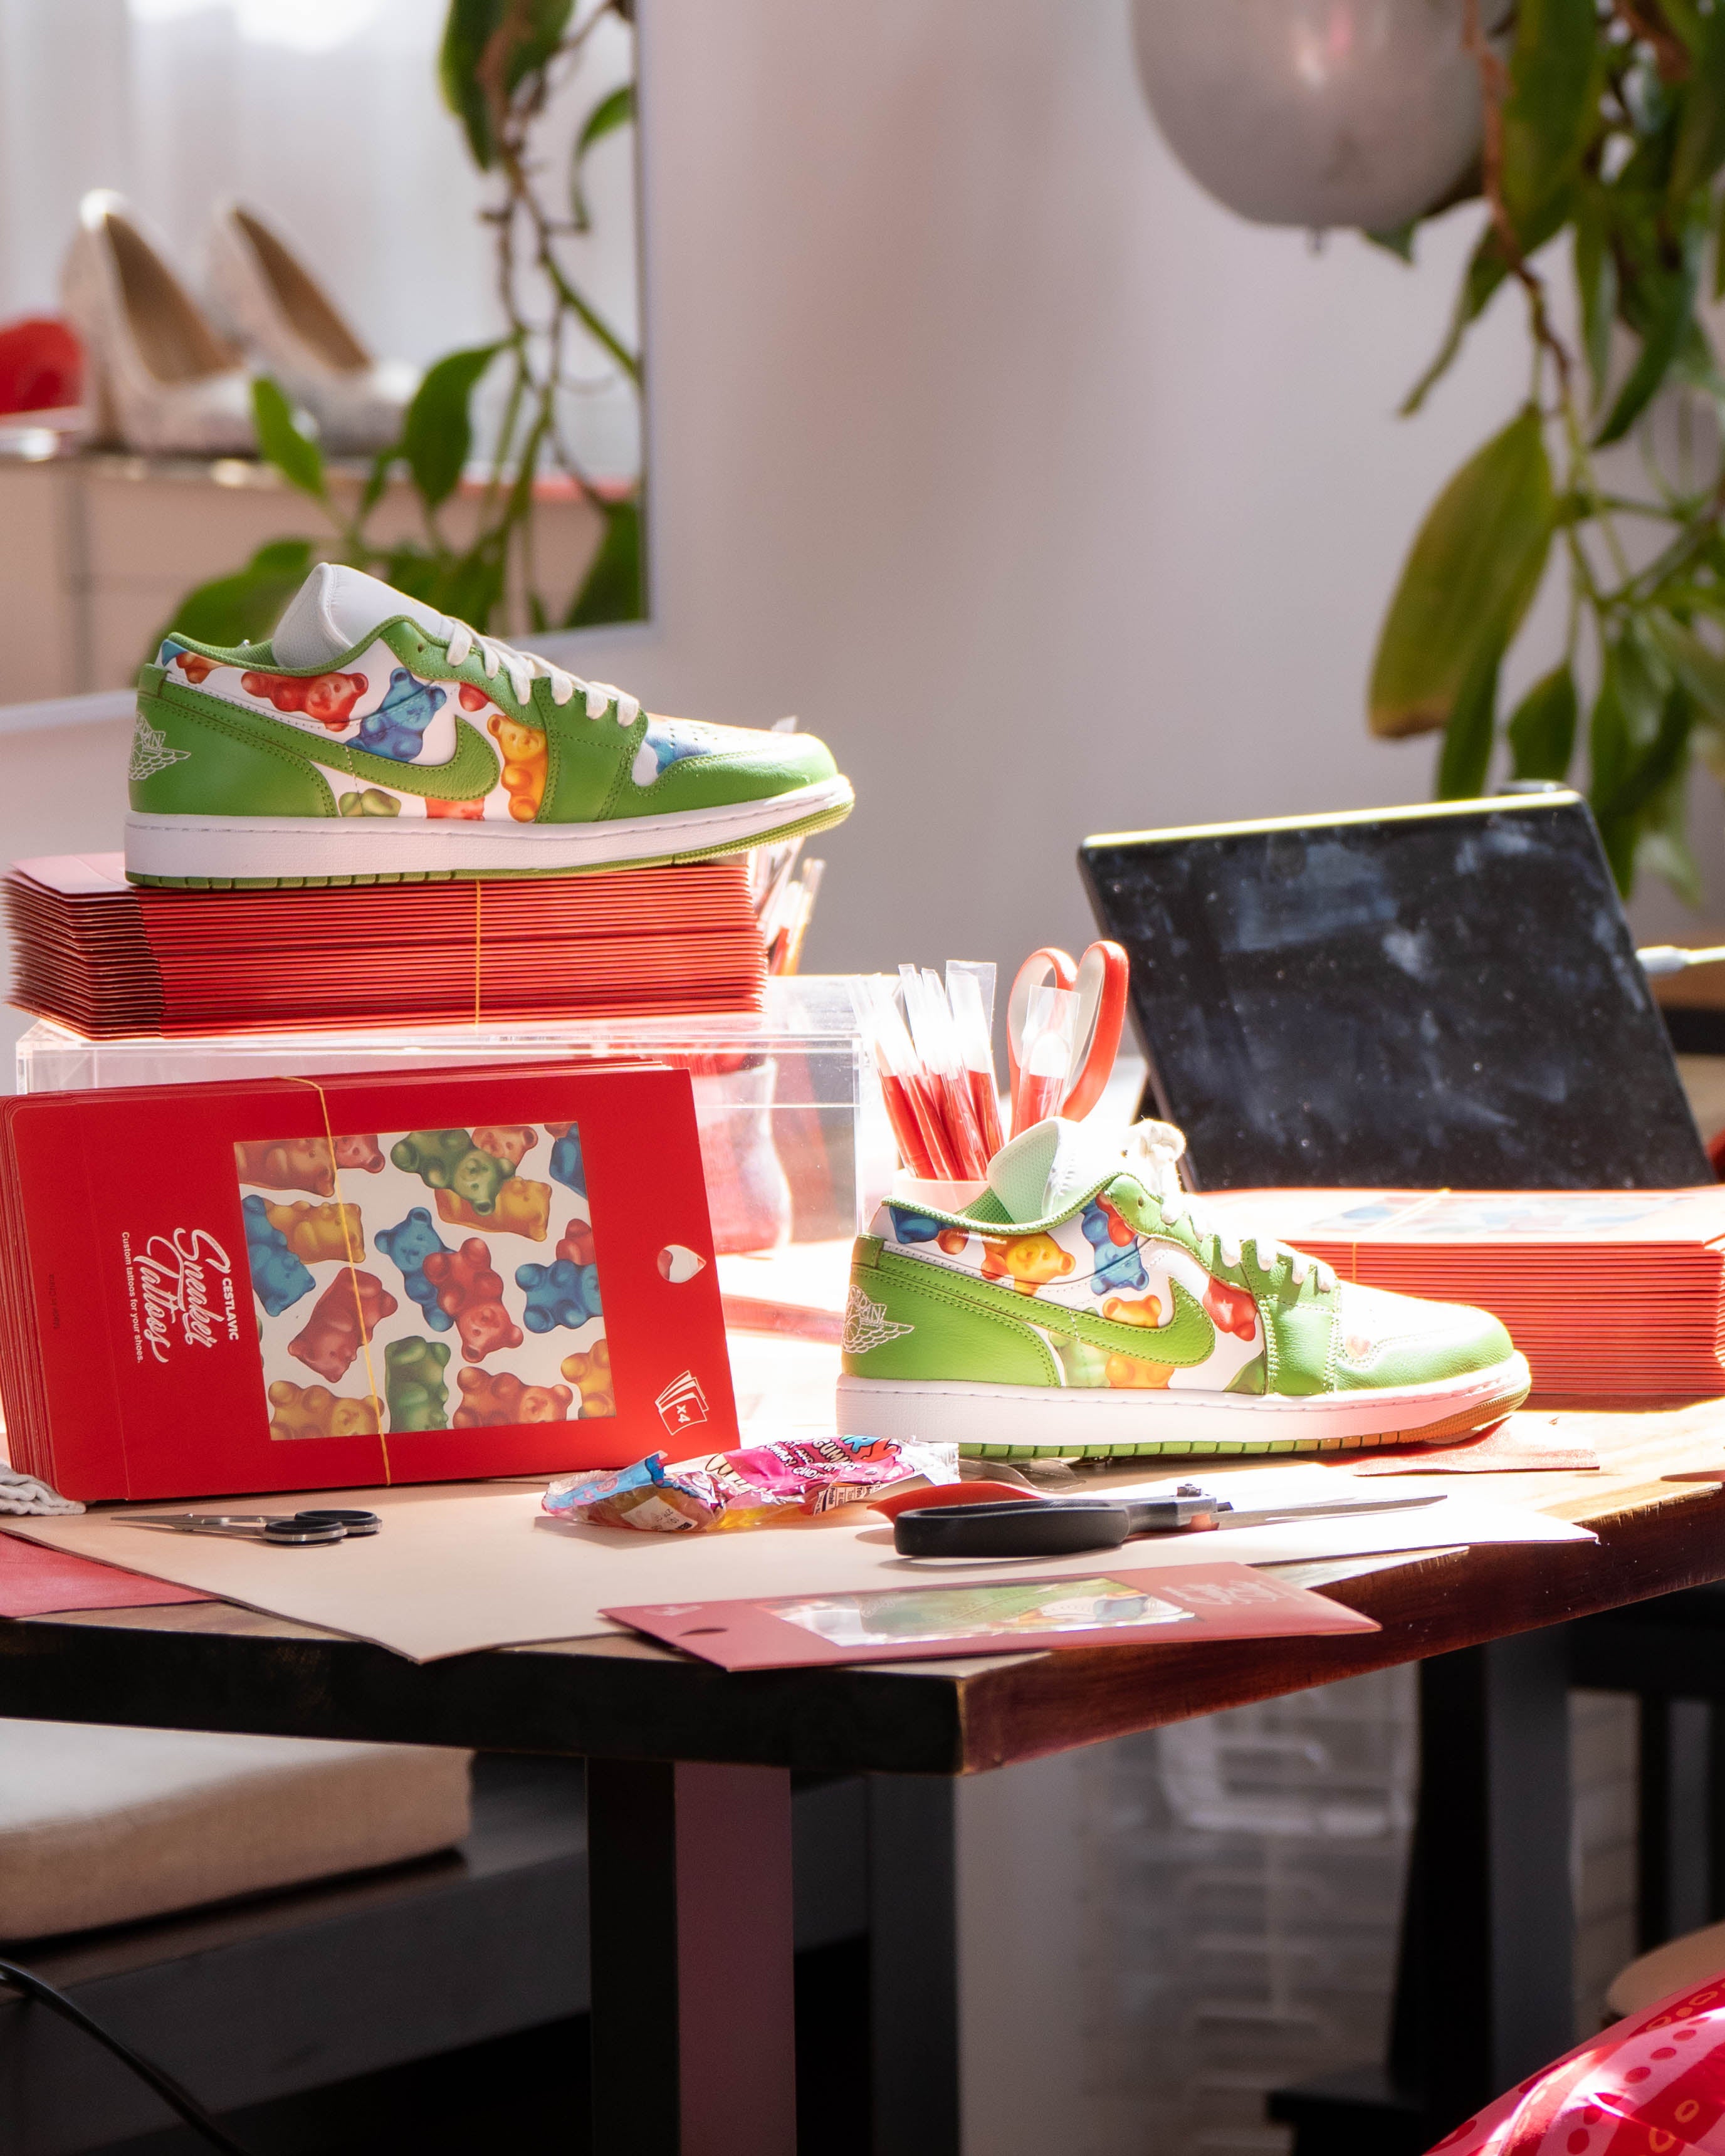
Learn More

What You'll Need

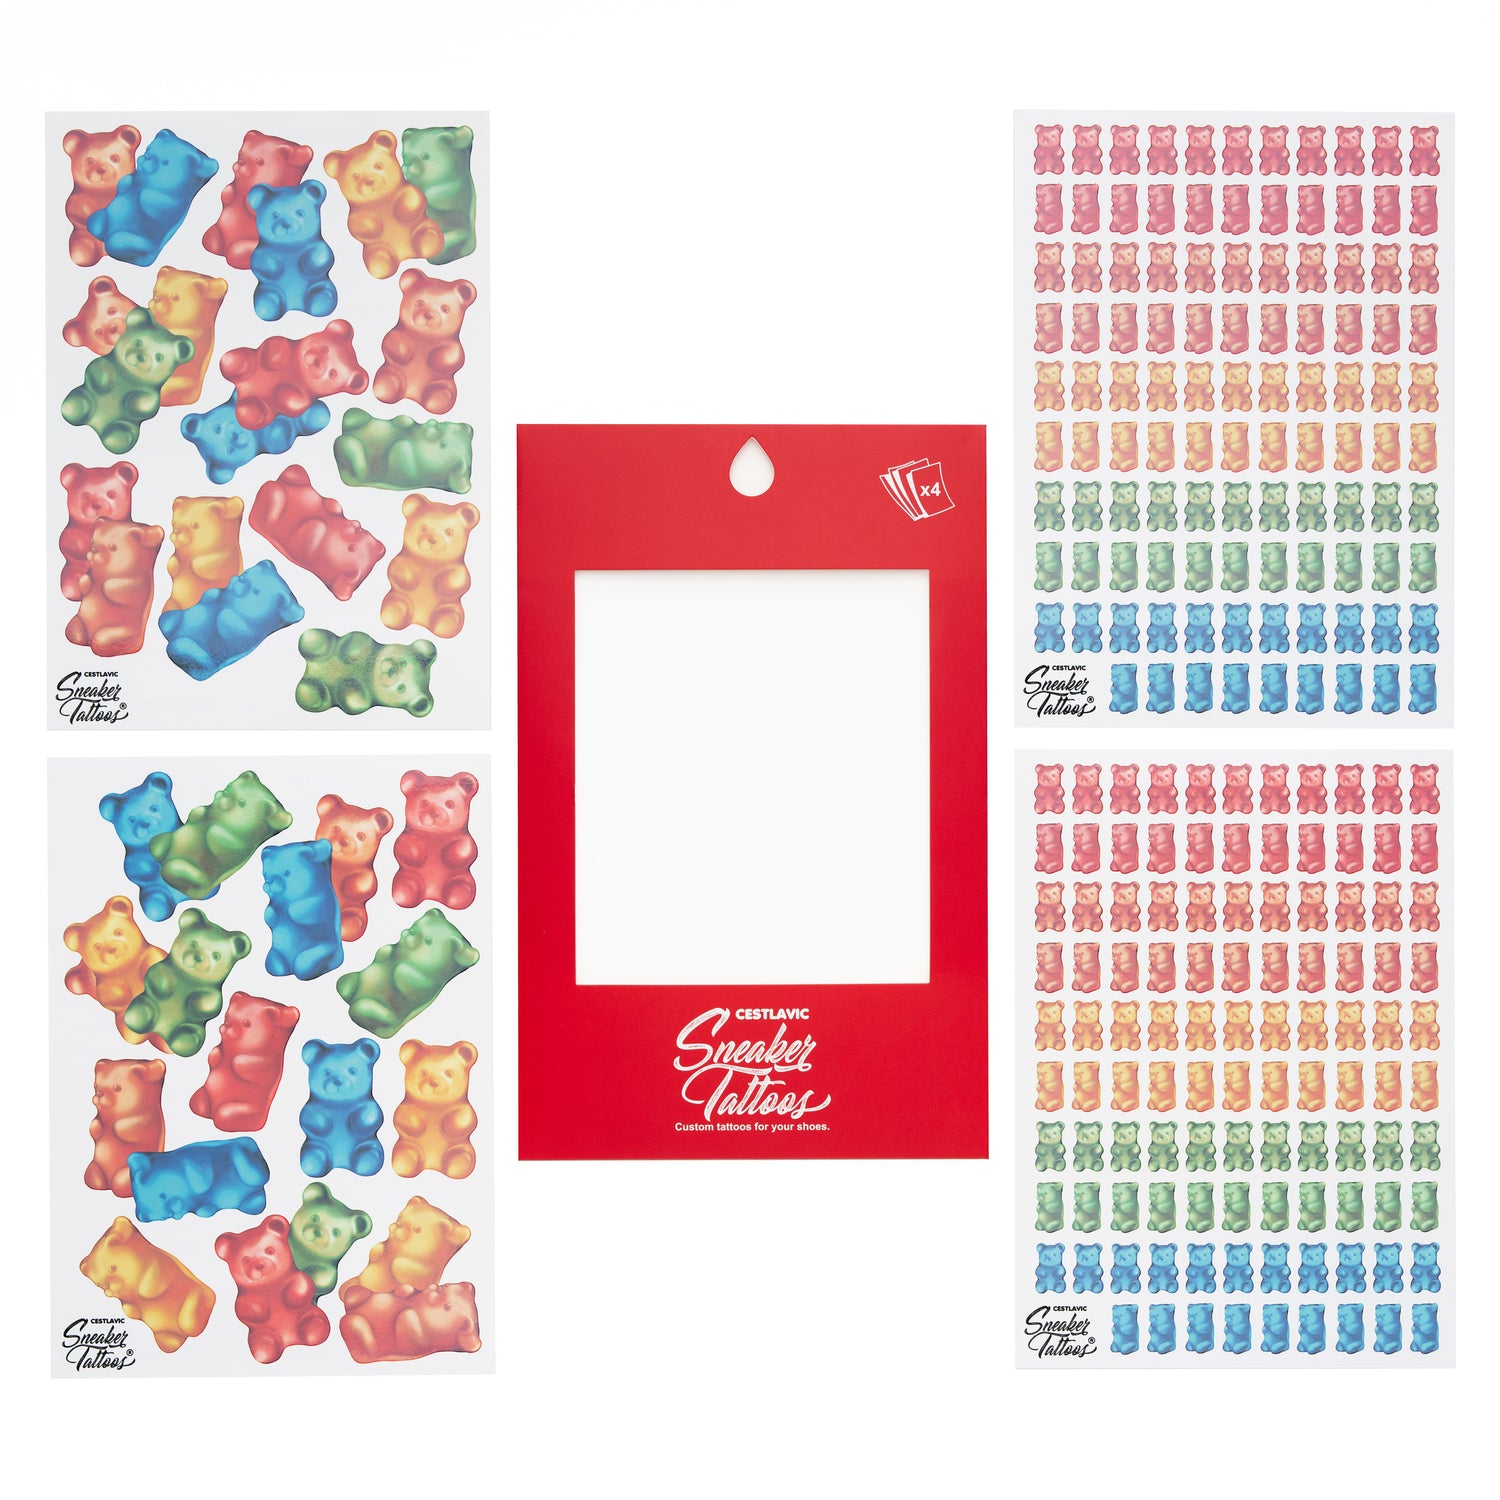
Each set of Sneaker Tattoos® comes with 4 sheets of stunning artwork specially designed for customizing. Instead of giving all duplicates, our designs are arranged/flipped so that when you're customizing the TWO sides of your sneakers, they can each be entirely unique.

In addition to Sneaker Tattoos® you'll need:

  • Sneakers (synthetic or genuine leather-based uppers work best)
  • Scissors
  • Water
  • Sponge or Paintbrush
  • Topcoat (Liquid Kicks or Angelus, sold separately)
View Designs

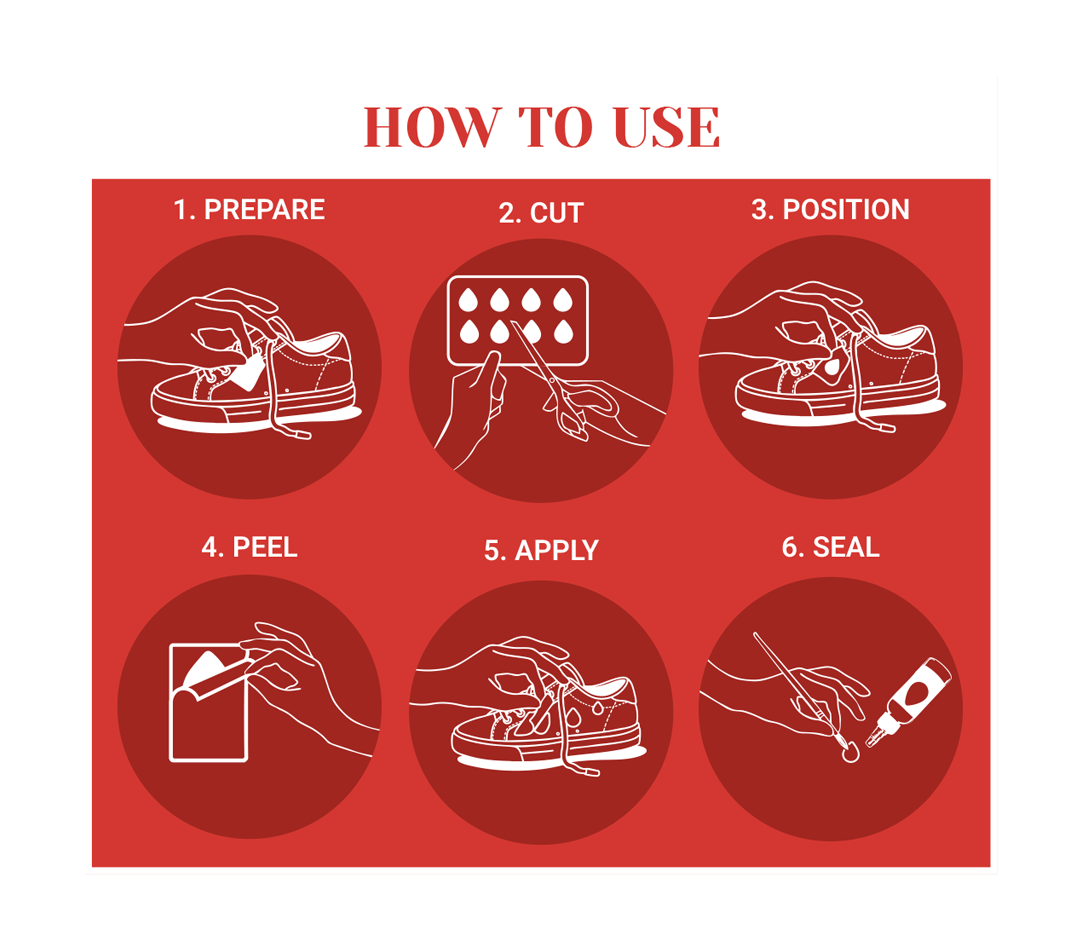
Ikea-level Instructions

If you're like us and you like to just 'skim' instructions and let fate take the wheel - these instructions are for you. This infographic can be found on the packaging of the Sneaker Tattoo® sets and if you need more detailed instructions you can find it on the back of each tattoo sheet.

Shop Sneaker Tattoos

Read Me

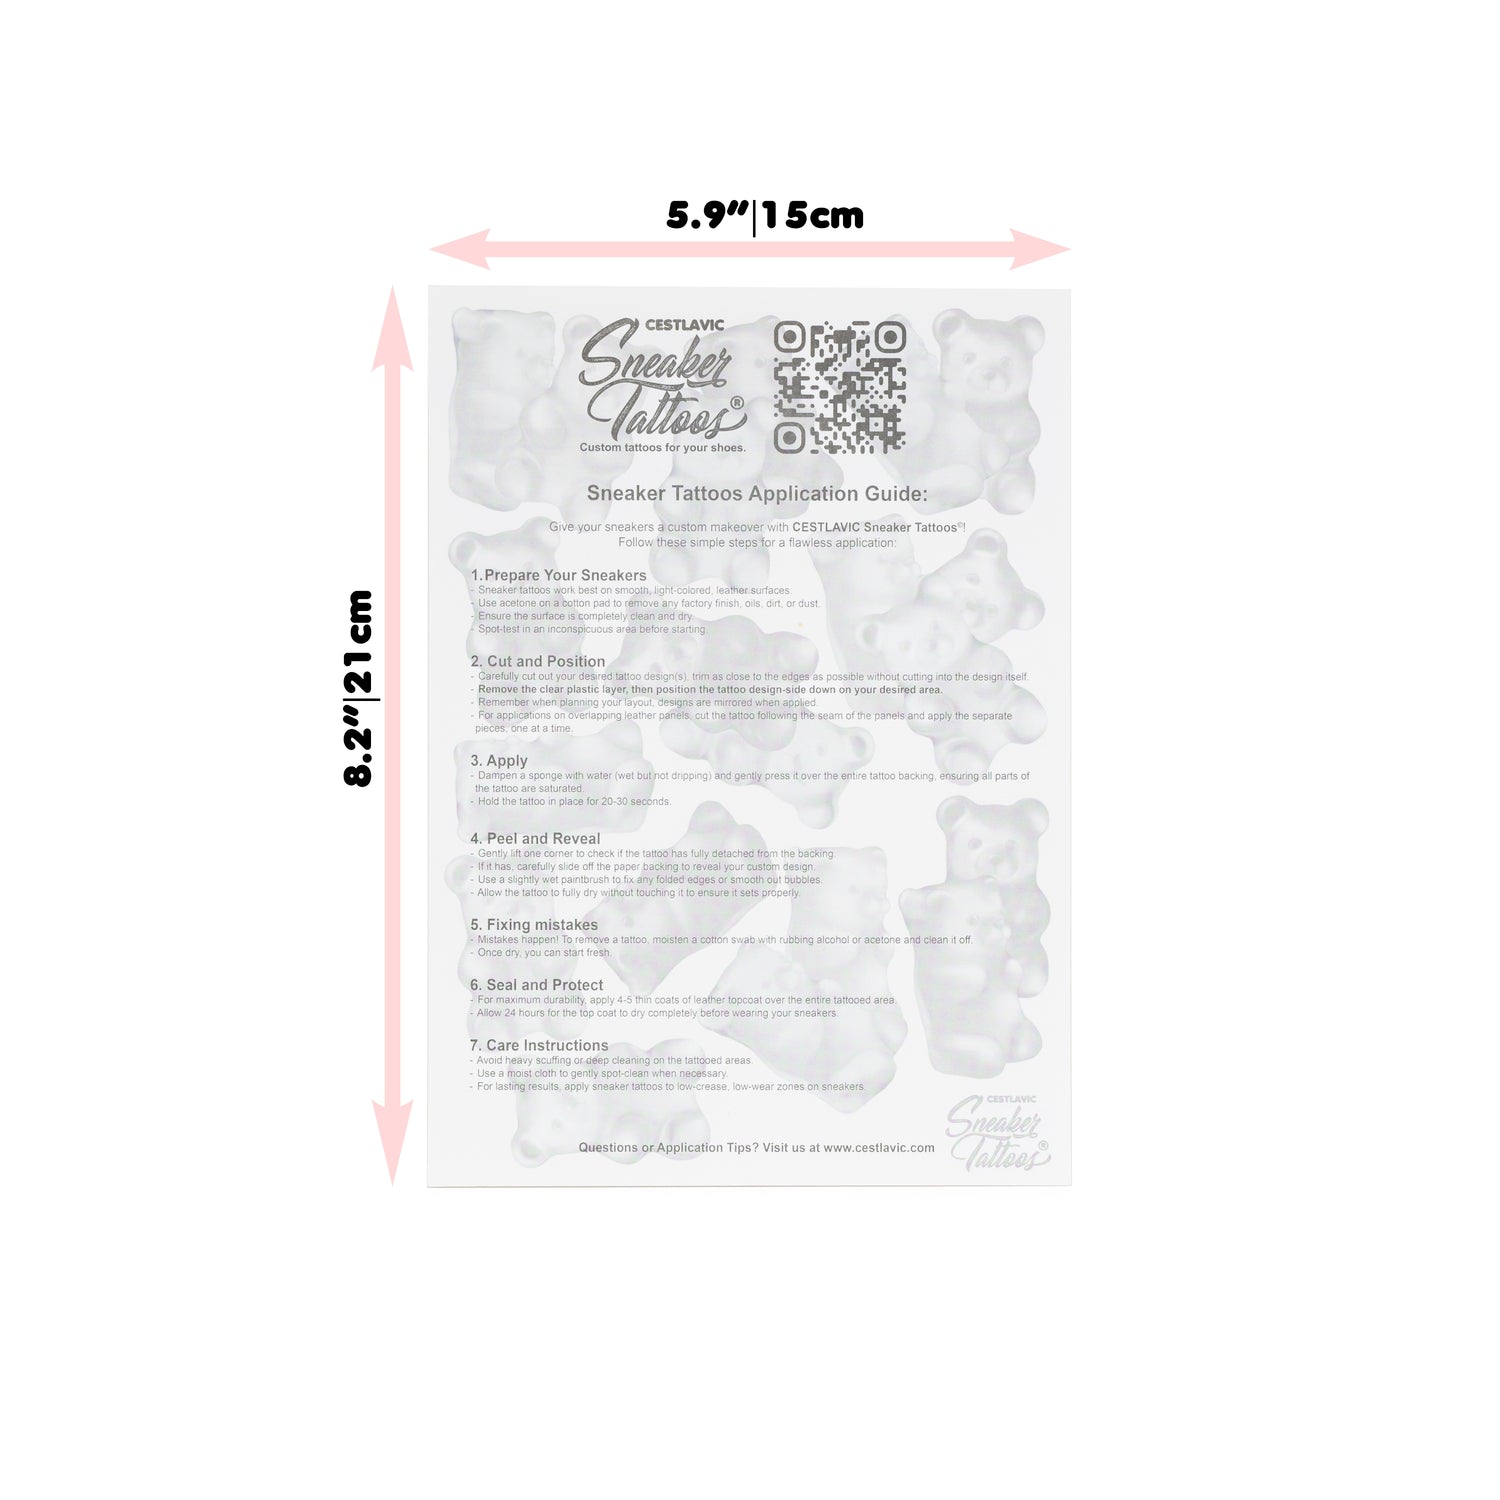
When you've gathered all of your tools and are ready to start your project, give the back of the tattoos a read. The back of each sheet of Sneaker Tattoos® contains a detailed Application Guide that will tell you how to prepare the surface for tattoos, how to apply them, and how to seal them.

What Are Sneaker Tattoos?

For Our Visual Learners

If you're the type to search Youtube for how-to videos instead of reading instructions, we've got you covered, below is a simple 1 minute video detailing how to apply your Sneaker Tattoos®. You can also check us out on Youtube to watch more step-by-step videos or find new inspiration!

  • Measure 3X Cut Once!

    One of our most useful tips for applying Sneaker Tattoos® is taking the time to plan out your designs. Cut out all the designs you plan to use and place it on your canvas. Make sure you have enough to go around before you start transferring the artwork.

  • PEEL! PEEL! PEEL!

    Perhaps the most satisfying yet possibly most frustrating part of the process is peeling off the plastic backing on Sneaker Tattoos®. If you forget to peel the backing off, you will be transferring the artwork onto plastic, not your sneakers!

  • Seal It With a Kiss

    Your tattooed creations can look great when you've just applied them, but don't forget to seal in your hard work with a proper leather topcoat to prevent the artwork from peeling or cracking!

    We generally recommend sealing your finished projects within 1 hour and using 3-4 thin layers of topcoat.

1 of 3

Learn More

Find out more about how to use Sneaker Tattoos® and don't forget to share your creations with us on Instagram!

#Cestlavic #Sneakertattoos #Makeityourown